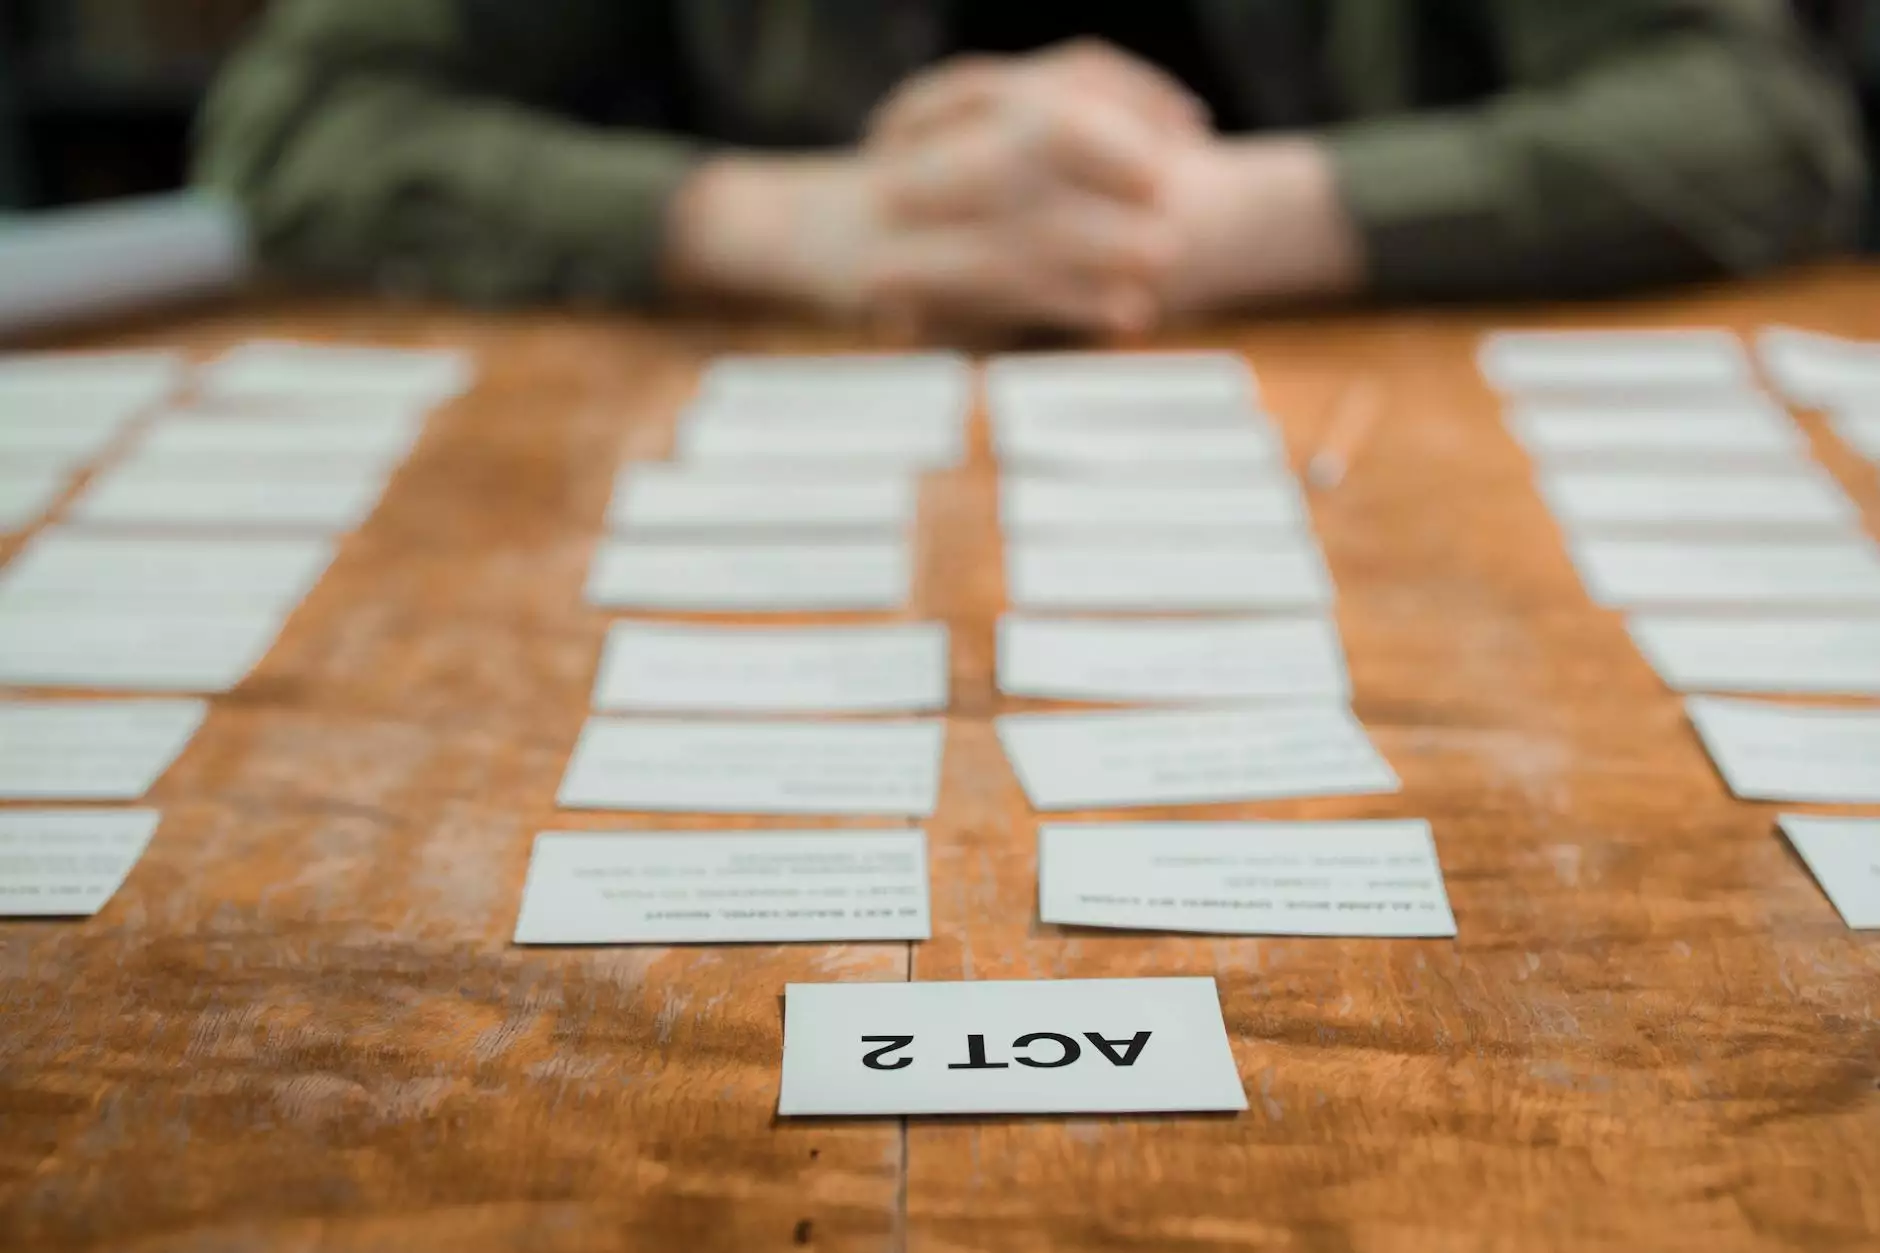
Making a Storyboard: A Comprehensive Guide for Graphic and Web Design

In the realm of graphic design and web design, the ability to communicate ideas visually is of paramount importance. A storyboard serves as a vital tool for designers, helping to visualize concepts and streamline the design process. A well-constructed storyboard not only enhances creativity but also ensures that all team members are aligned throughout the project's lifecycle. This article offers an in-depth exploration of how to effectively create and utilize storyboards to bolster your design projects.
What is a Storyboard?
A storyboard is a visual representation of a sequence of events or ideas. Traditionally used in film and animation, storyboards are now instrumental in various fields, especially in graphic design and web design. They allow designers to plot out visuals, user interactions, and layout structures, fostering a clearer understanding of how the final product will materialize.
Why is Storyboarding Important in Design?
Storyboarding provides numerous benefits to designers and teams alike:
- Clarifies Vision: It helps articulate the overall concept and vision of the project.
- Enhances Collaboration: With a visual guide, team members can easily share and discuss ideas, leading to better collaboration.
- Improves Workflow: A storyboard creates a roadmap, enabling designers to organize their work logically, reducing wasted time and effort.
- Facilitates Feedback: Having a visual aid makes it easier to gather feedback from stakeholders, ensuring alignment before proceeding to complex design phases.
- Mitigates Risks: Identifying potential issues early in the design process can save time and resources in the long run.
Steps for Making a Storyboard
Creating a storyboard involves a structured approach. Here’s a step-by-step guide:
1. Define the Project Goals
Before diving into visuals, it's essential to outline the purpose and goals of your project. Ask yourself:
- What message do I want to convey?
- Who is my target audience?
- What action do I want the audience to take after viewing this design?
2. Gather Ideas and Concepts
Start brainstorming and collecting ideas. This can be done through:
- Mind mapping
- Researching competitors
- Reviewing past projects
This phase is about generating content and possibilities without limitations.
3. Create a Framework
Establish a basic structure for your storyboard. This can include:
- Defining scenes or sections
- Creating a timeline for your design elements
- Sketching out a basic layout for each scene
Having a framework helps in organizing thoughts systematically.
4. Draw Thumbnails
At this stage, begin drawing thumbnails for each scene. Thumbnails are small sketches that represent your ideas visually. They don’t have to be detailed; the focus should be on layout and flow. Key elements to include are:
- Text or copy placements
- Visual elements such as images or graphics
- User interface components for web designs
5. Add Annotations
For each thumbnail, add notes that clarify your ideas, such as:
- Color schemes
- Font choices
- User interactions and transitions
Annotations provide context that helps anyone viewing the storyboard to understand your vision.
6. Review and Revise
Share your storyboard draft with team members or stakeholders. Gather feedback and be open to making changes. An iterative approach can uncover new insights that improve the overall design.
7. Finalize the Storyboard
After incorporating feedback, create the final version of your storyboard. This can be hand-drawn or digitally created using software like Adobe Illustrator, Photoshop, or specialized storyboard software.
Tools for Creating Storyboards
There are various tools available to assist in creating storyboards:
- Adobe Illustrator: A powerful tool for creating detailed storyboards with editing capabilities.
- Storyboard That: An online platform specifically designed for storyboard creation.
- Canva: While primarily a design tool, it offers templates that can be adapted for storyboarding.
- Microsoft PowerPoint: Simple and accessible, PowerPoint can be used to create visual sequences easily.
- Trello: Excellent for organizing tasks and ideas, allowing for easy collaboration among team members.
Common Mistakes to Avoid When Making a Storyboard
While storyboarding can significantly enhance the design process, there are pitfalls to avoid:
- Overcomplicating the Visuals: Thumbnails should be simple and focus on layout rather than fine details.
- Ignoring Feedback: Collaboration is key; ignoring suggestions can lead to misalignment and wasted effort.
- Being Too Rigid: While a storyboard provides direction, remain flexible to changes and new ideas throughout the design process.
- Forgetting to Add Annotations: Annotations provide necessary context, so don’t neglect this aspect.
Case Studies: Effective Storyboarding in Graphic and Web Design
Example 1: Successful Marketing Campaign
Consider a graphic design team tasked with developing a campaign for a new product. By creating a detailed storyboard, they outlined the key visual elements needed for each advertisement and landing page. This visual roadmap led to a cohesive brand message and a 30% increase in conversion rates.
Example 2: Redesign of a Website
A web design agency was approached to revamp an existing e-commerce website. By implementing storyboards for the user journey through various pages, they identified user pain points and optimized the flow. The result was a more intuitive design, leading to a 50% decrease in bounce rates.
Conclusion: The Power of Storyboarding in Design
Making a storyboard is undeniably a crucial step in the graphic and web design process. It not only organizes thoughts and ideas but also sets the stage for collaboration and feedback among team members. With its myriad benefits—from clarifying creative vision to enhancing user experience—storyboarding is an essential practice that every designer should adopt. By adhering to the steps outlined in this guide and learning from real-world examples, you can master the art of storyboarding and elevate your design projects to new heights.
For more insights and professional design services, visit our website at krock.io.
making a story board


